Minecraft Lego Minecraft Lego Minecraft Lego
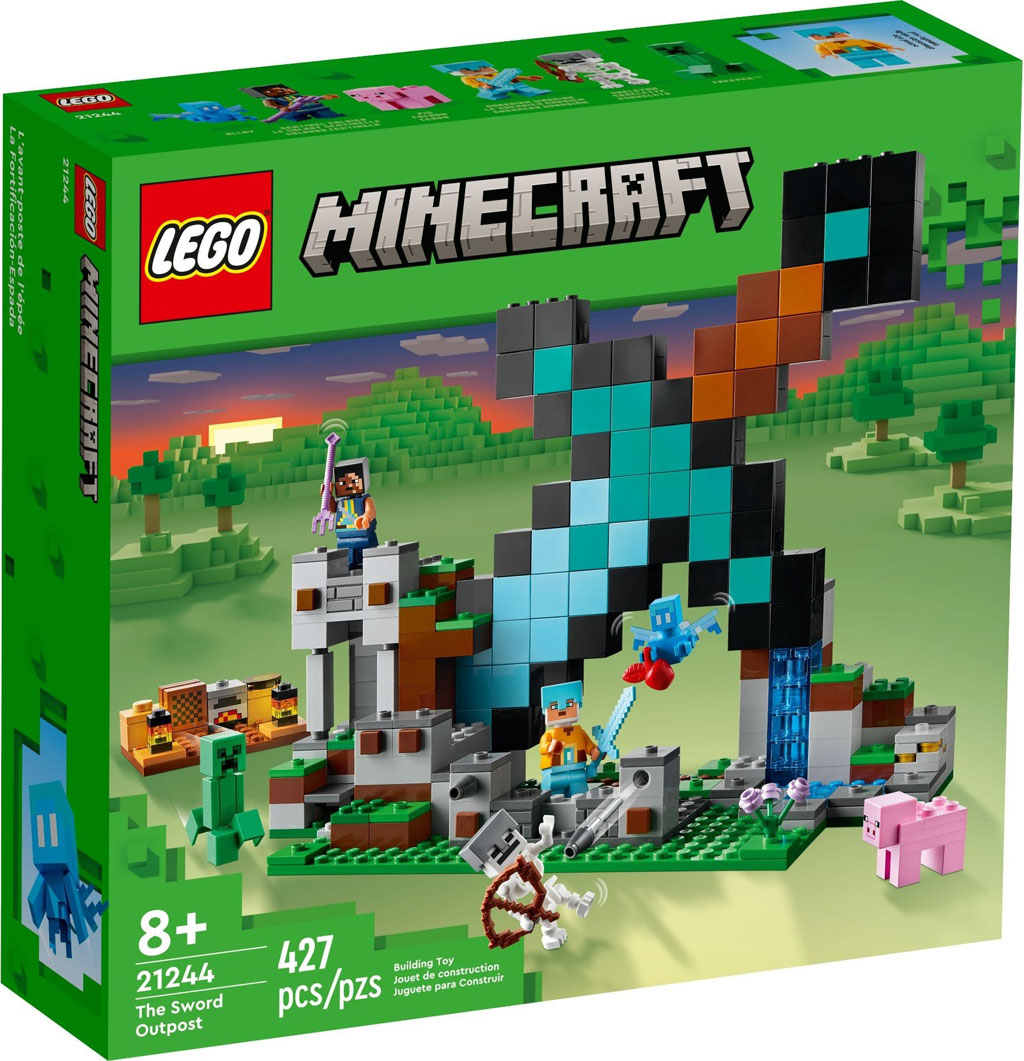
Minecraft lego represents a creative blend where the blocky world of Minecraft meets the tactile, building fun of LEGO, and fans love exploring Minecraft lego ideas for new ways to craft their favorite pixelated structures. This concept taps into the nostalgia of both LEGO bricks and the endlessly customizable universe of Minecraft, giving builders of all ages a hands-on way to recreate villages, mobs, and landscapes using familiar plastic pieces.
The Appeal of Minecraft LEGO Creations
The appeal of Minecraft LEGO projects lies in how they extend the game experience into real life, allowing players to physically assemble shelters, tools, and mobs with studs and plates. Unlike digital building, these models invite touch, imagination, and display, making them perfect for desks, shelves, or classroom corners. Many builders start with simple templates and then expand into ambitious builds, mixing official LEGO elements with custom printed tiles to capture the distinct pixel art style of Minecraft.
Another reason these builds resonate with builders is the sense of scale and modularity that LEGO naturally provides. You can construct a tiny house, an intricate redstone-inspired mechanism, or a full village, then rearrange sections just like in the game. This flexibility encourages experimentation, as you can test different roof shapes, wall patterns, and color schemes while staying true to the iconic Minecraft aesthetic. For parents and educators, these projects also offer a screen-free way to discuss concepts like geometry, symmetry, and resource planning.
Getting Started With Your Own Minecraft LEGO Build
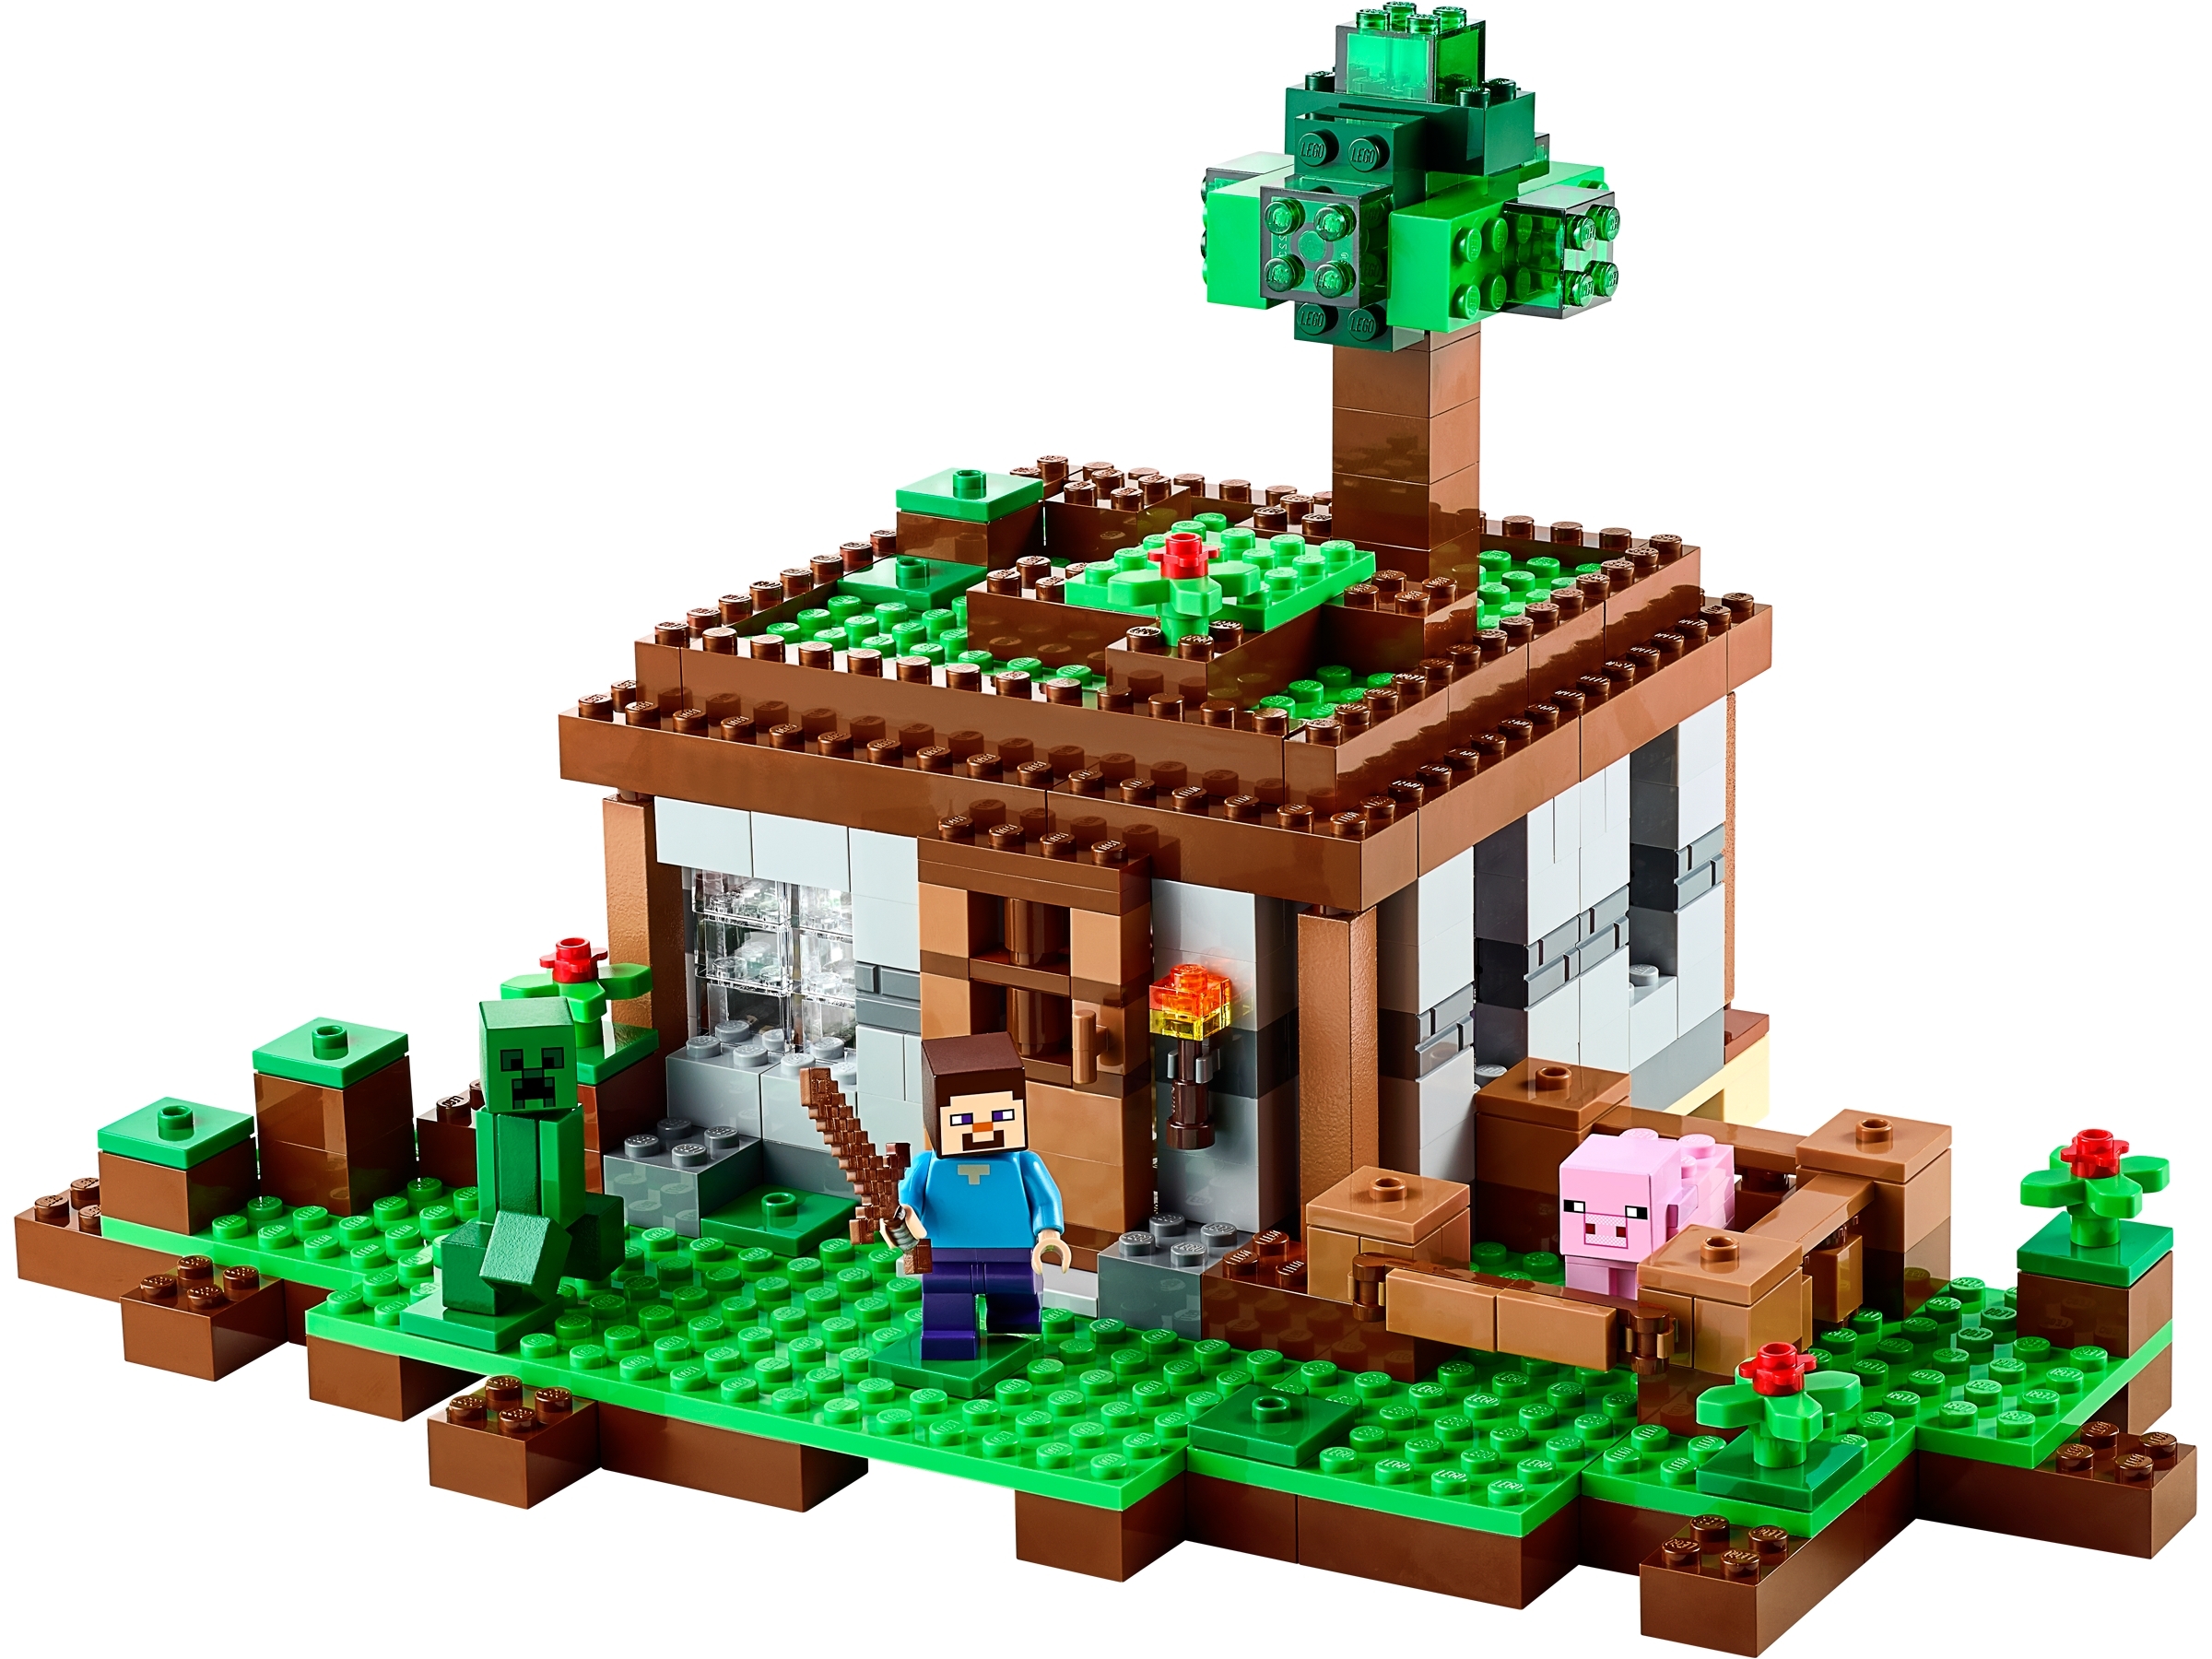
To begin a Minecraft LEGO project, start by choosing a specific build, such as a simple house, a creeper statue, or a small Nether fortress. Gather basic bricks in earth tones, plus greens, blacks, and whites to mimic the game’s palette, and use tile plates to create the distinctive pixel grids. It helps to sketch a quick blueprint or reference an in-game screenshot, then break the design into layers so you can build from the ground up while keeping proportions consistent.
As you build, focus on modular construction, treating each wall or section as a detachable module that can be reconfigured later. This approach mirrors the flexibility of the video game, where you can easily edit or expand your structures. Keep a small parts bin nearby for plates, slopes, and round plates, which are especially useful for rounded edges, roofs, and decorative details like torches and lanterns.
- Choose a simple reference image from Minecraft to guide colors and shapes.
- Start with a sturdy base using larger plates to ensure stability.
- Build in vertical layers, stepping back often to check proportions.
- Use printed tiles or stickers for pixelated details like grass, stone, or mob faces.
- Label storage containers by color and piece type to speed up future builds.
Designing Custom Minecraft LEGO Mobs and Characters
Creating mobs is one of the most fun parts of a Minecraft LEGO series, and you can interpret creepers, zombies, skeletons, and villagers using basic bricks and printed elements. For iconic silhouettes, focus on blocky heads, simple torsos, and minimal limbs, then add printed eyes, mouths, and clothing details to bring each character to life. Some builders even create poseable joints using Technic pins or hinges, letting their mobs stand, sit, or hold items.

When designing original mobs, think about personality and function within your builds. A glowstone-lit witch in a cauldron, a piglin guarding a chest, or a fox patrolling your village can turn a static display into a playful scene. You can also experiment with color variants, like a blue-eyed enderman or a festive Santa hat on a winter village, while keeping the core building techniques consistent.
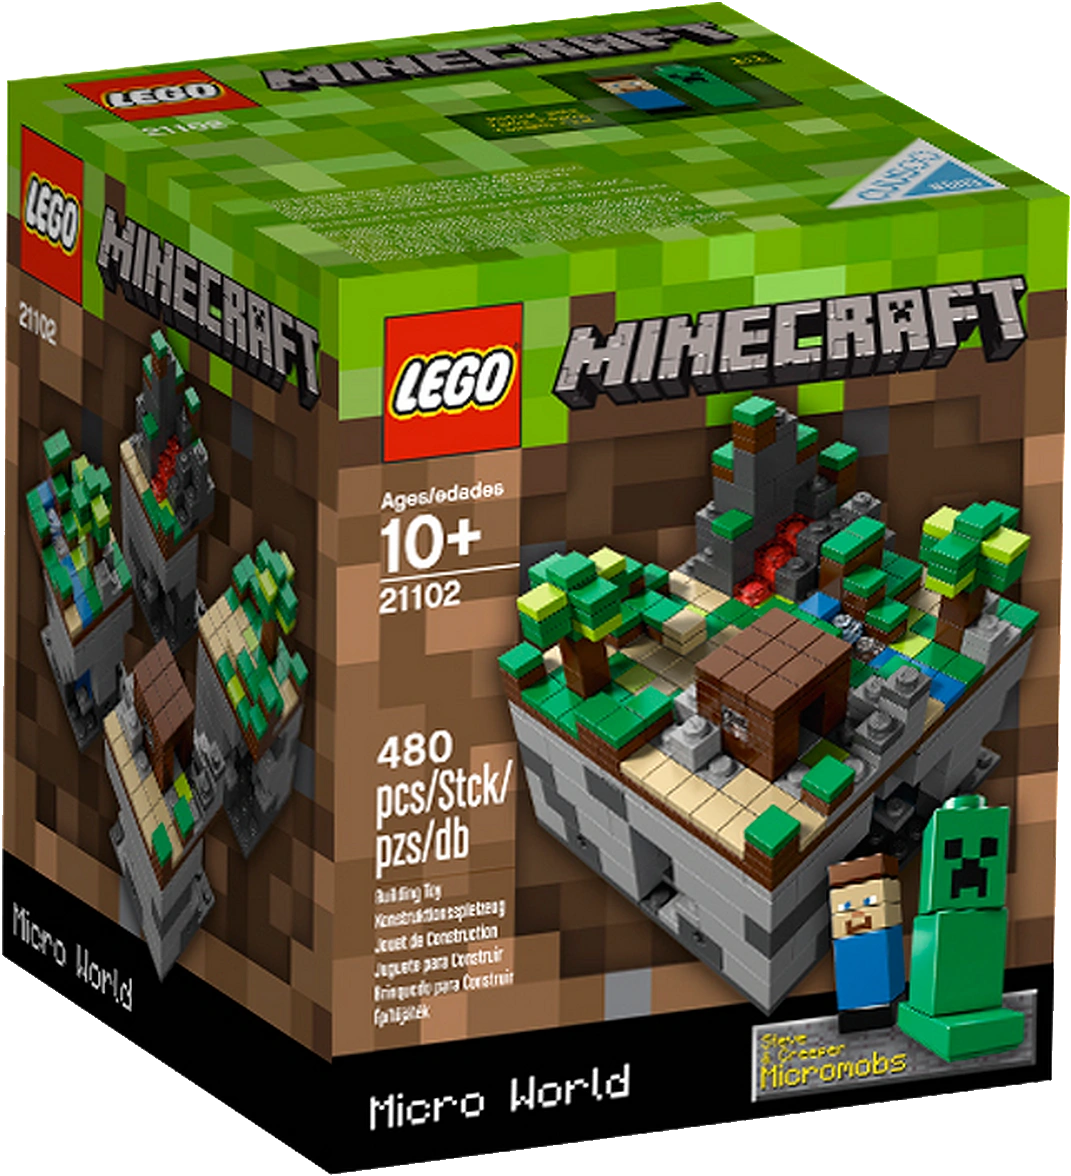
Building Modular Minecraft LEGO Villages and Landscapes
Villages are a popular canvas for Minecraft LEGO projects, because they let you combine houses, farms, and paths into a cohesive world. Start by planning districts, such as residential, farming, and trading areas, then assign colors and materials to each zone to create visual variety. Use baseplates to connect modules, and incorporate trees, rivers, and paths made from slopes, tiles, and flexible cloth pieces to evoke the game’s natural landscapes.
To keep your village feeling dynamic, include interactive elements like opening doors, movable carts on rails, or flicker lights that mimic torch glow. You can even design redstone-inspired circuits using LEGO motors and sensors to power simple mechanisms, such as drawbridges or automatic farms. These touches add play value and make your display feel alive, encouraging repeated builds and rearrangements as your skills grow.
Showcasing and Sharing Your Minecraft LEGO Creations
Once your builds are complete, consider how to display them where they can be appreciated by family, friends, or online communities. Floating shelves, glass cabinets, or illuminated shadowboxes can highlight key pieces while protecting them from dust and accidental knocks. Grouping builds in dioramas, with painted backdrops or printed biomes, helps tell a story and makes each project feel part of a larger world.
Sharing your progress through photos or time-lapse videos can inspire others and spark collaboration, especially if you invite feedback on color choices, stability, or mini-game integration. By documenting different stages of construction, you create a portfolio that showcases your growth and encourages new builders to start their own Minecraft LEGO journeys. Over time, these projects become a personal archive of creativity, connecting the tactile joy of bricks with the limitless imagination of Minecraft.
Level 1 VS Level 999 LEGO Steve... #lego#minecraft
Tiny LEGO Steve VS The Strongest LEGO Steve !!!
