Multilate A Doll 2
Exploring the creative possibilities of how to multilate a doll 2 opens up a world of artistic expression and hands-on customization for makers of all levels. This process invites you to rethink the original form, experiment with textures, and transform a single toy into a layered piece of miniature art that reflects your personal vision. Whether you are drawn to subtle alterations or more dramatic reconstruction, the journey of how to multilate a doll 2 is as much about planning as it is about the tactile act of cutting, reshaping, and rebuilding.
Understanding the Basics of Multilating a Doll 2
Before you begin to multilate a doll 2, it helps to clarify what this specific version might represent in terms of design complexity and creative opportunity. A second iteration often implies new features, additional parts, or a more intricate structure that can offer more surfaces to modify while still keeping the recognizable charm of the original. Thinking of multilating as a conversation between the existing form and your ideas will keep your approach thoughtful rather than purely destructive.
At its core, to multilate a doll 2 means to reshape, fragment, or layer elements of the figure in a way that adds visual or conceptual depth. You might adjust proportions, expose inner structures, or create hybrid forms by combining sections from different parts of the body. Keeping a sketchbook nearby to capture quick ideas for cuts, openings, or added components can guide your hands when you move from planning to action.
Planning Your Approach to Multilating
Effective planning is the backbone of a successful project when you intend to multilate a doll 2, because each cut or modification can affect balance, stability, and overall aesthetics. Start by deciding the level of intervention: are you making surface-level changes like added accessories, or are you restructuring limbs, torso, or head to create a more abstract figure? Listing these intentions helps you stay focused as you work.
- Examine the original doll 2 for seams, joints, and hollow spaces that can accommodate new materials or hidden details.
- Choose a theme or narrative for your altered piece, such as cyborg, nature fusion, or architectural reinterpretation, to guide your design choices.
- Gather tools like precision knives, sanding tools, adhesives, and painting supplies, ensuring they are suited to the material of the doll.
Another key part of how to prepare to multilate a doll 2 is considering the emotional tone you want the finished piece to convey. Will it feel eerie, playful, serene, or confrontational? This tone can influence color palettes, the degree of fragmentation, and the types of textures you introduce, turning a simple alteration into a cohesive statement.
Executing the Multilation Process
When you move into the active phase to multilate a doll 2, work slowly and methodically, especially if the doll has delicate features or painted details. Start with non-critical areas to test your techniques, such as making small cuts or drilling pilot holes, before advancing to more prominent sections. This cautious approach reduces the risk of irreversible mistakes and helps you maintain confidence throughout the process.
As you reshape the figure, think in layers by building up new elements rather than only removing material. You can attach found objects, recycled plastic, or wire to create armor, wings, or abstract extensions that interact with the existing forms. The act of multilating becomes not just about taking away but also about adding new dimensions of space and volume.
Refining Details and Surface Texture
After you have established the major structural changes, refining the surface of your doll 2 becomes the stage where personality truly emerges. Sanding rough edges, filling gaps, and smoothing transitions will make the final paint or finishing treatments look more professional and intentional. Paying attention to small details like simulated stitching, cracks, or engraved patterns can turn a simple multilation into a highly nuanced piece.
- Use fine-grit sandpaper to gently smooth cut surfaces before applying adhesives or paint.
- Experiment with mixed media, such as ink washes, pastels, or metallic paints, to highlight the newly defined contours.
- Consider adding translucent layers or washes to create depth in recessed areas, enhancing the sense of a multilayered form.
Texture plays a crucial role when you aim to multilate a doll 2 in a way that feels fresh and deliberate. Combining matte and glossy finishes, rough and polished zones, can create a tactile narrative that invites viewers to look closer. These contrasts guide the eye across the figure and emphasize the most significant modifications you have introduced.
Creative Themes and Conceptual Inspiration
To multilate a doll 2 can also be an exercise in storytelling, where each cut, joint, or addition reflects a broader concept such as transformation, memory, or identity. You might draw inspiration from mythology, science fiction, or personal experiences, allowing the altered doll to symbolize a character on a journey. Let your narrative choices influence the direction of the cuts, the positioning of limbs, and the arrangement of added elements.
Exploring cultural references or art movements can further enrich your approach to multilating. For instance, incorporating motifs from surrealism or cyberpunk can give your piece a distinctive visual language that sets it apart from standard customizations. The key is to ensure that these influences feel integrated rather than decorative, so the doll remains a coherent expression of your creative intent.
Final Evaluation and Display
Once you have completed the physical changes, take time to evaluate how well your vision for how to multilate a doll 2 has been realized. Step back at various distances to observe the silhouette, balance, and focal points of the piece. Adjust minor details, such as tightening loose elements or enhancing highlights, before considering the work finished.
When it comes to sharing or preserving your creation, choose a display method that protects the modified areas while still showcasing the multilated features. A clear stand, shadow box, or themed diorama can frame the doll 2 in context, allowing viewers to appreciate the complexity of your alterations. Documenting your process with photos or notes not only helps you refine future projects but also adds value to the story behind this unique reinterpretation of a familiar figure.
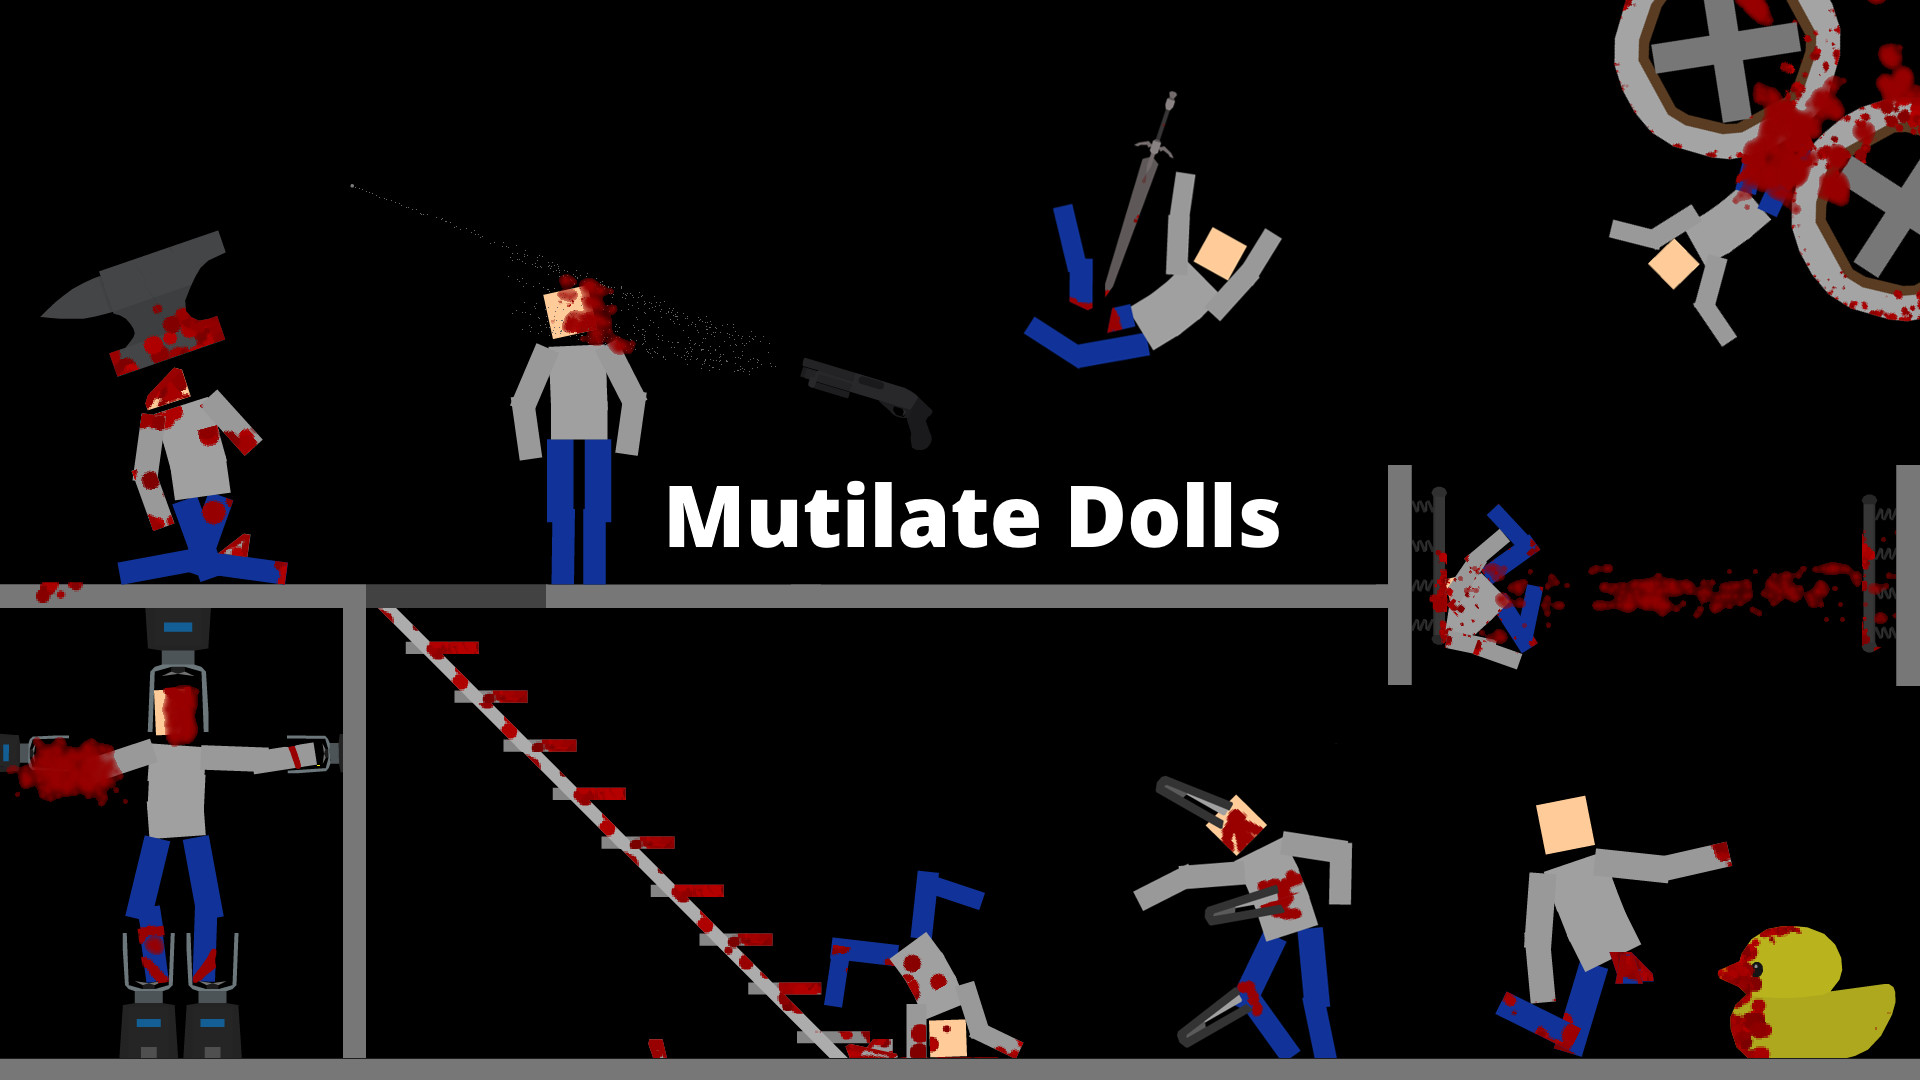
Mutilate a Doll 2: The Review
A review of Mutilate a Doll 2(MaD 2). Made many videos on it over the years, about time I made review of it as well: IMAGES: ...
